This tutorial is mostly for my reference in case for when I forget how to fix this issue in the future. But I will try to be as beginner friendly as much as possible.
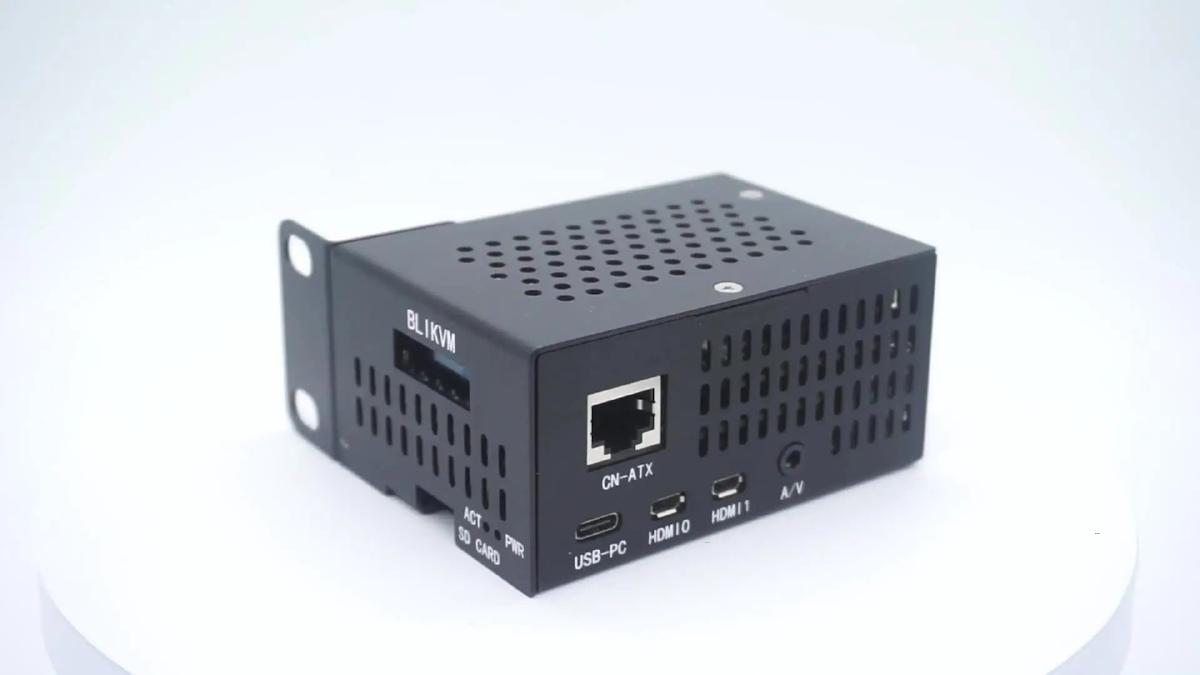
If you are seeing glitchy or wrong BIOS/UEFI resolution in your PiKVM session (I am actually using the BliKVM HAT), like the following screenshot, follow the steps below the picture!
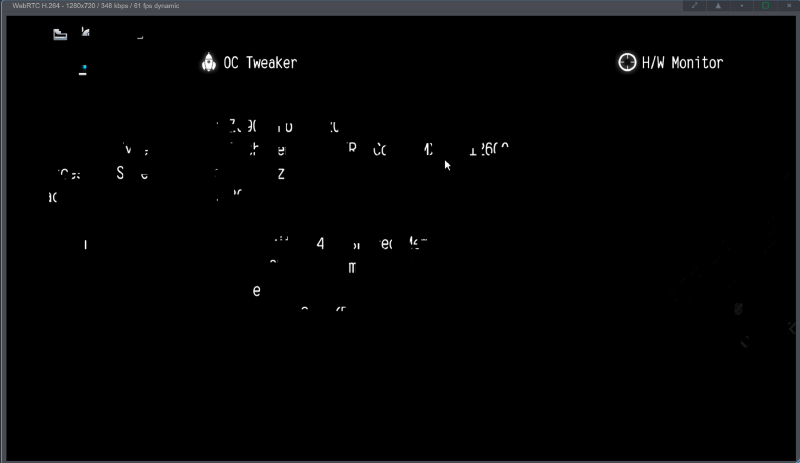
- First, if you haven’t tried the official troubleshooting steps, you should try that. Here is the link to that, and scroll down to the “Glitchy or wrong BIOS/UEFI resolution” section in that page. However, those steps didn’t work for me. Fortunately, I have figured out a way to fix this!
- After you log on to your PiKVM session, select “Terminal”.
- Run
su-, and enter in your password. - Run
rwto enter Read-Write mode. - Run
nano /etc/kvmd/tc358743-edid.hexto edit the tc358743-edid.hex config file that contains information about the video modes supported by the video capture device. - Replace the content in the file with the following. For transparency’s sake, this is an EDID (Extended Display Identification Data) for a 1920x1080 display, and it is taken from here.
00FFFFFFFFFFFF005262888800888888 1C150103800000780AEE91A3544C9926 0F505425400001000100010001000100 010001010101D32C80A070381A403020 350040442100001E7E1D00A050001940 3020370080001000001E000000FC0050 492D4B564D20566964656F0A000000FD 00323D0F2E0F000000000000000001C4 02030400DE0D20A03058122030203400 F0B400000018E01500A0400016303020 3400000000000018B41400A050D01120 3020350080D810000018AB22A0A05084 1A3030203600B00E1100001800000000 00000000000000000000000000000000 00000000000000000000000000000000 00000000000000000000000000000045 - Save the file by pressing
CtrlandXat the same time, typey, and pressEnter. - Run
kvmd-edidconf --applyto apply the changes. - Run
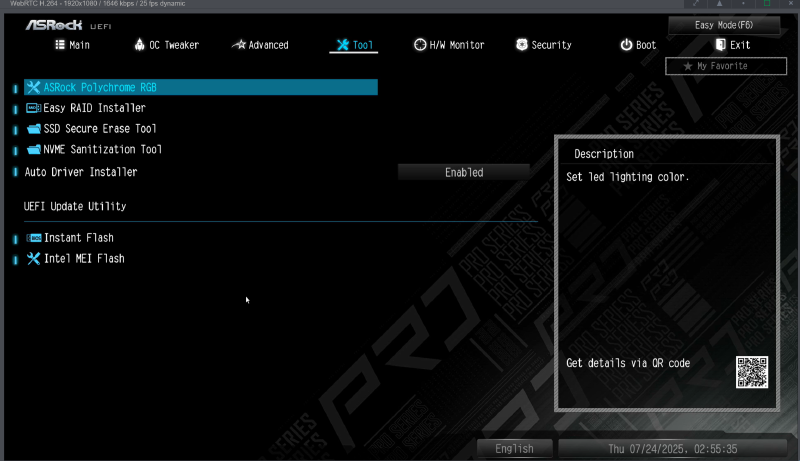
roto switch to Read-Only mode. - Check the stream to check whether your BIOS/UEFI is displayed correctly in PiKVM. If not, restart the host, not the device running PiKVM. Hopefully your BIOS/UEFI is finally being displayed correct on your PiKVM like the following screenshot. If not, you can always undo these changes and restore the default EDID by running the commands below the screenshot.
rw
kvmd-edidconf --import-preset=v1 --apply # for PiKVM v1
ro
You can change the v1 to v0, v1, v2, v3, v4mini and v4plus depending on your hardware.